扫码一下
查看教程更方便
本章将详细讨论通过使用 jquery ajax 访问 restful web 服务。
创建一个简单的 spring boot web 应用程序并编写一个控制器类文件,用于重定向到 html 文件来访问 restful web 服务。
我们需要在构建配置文件中添加 spring boot 启动器 thymeleaf 和 web 依赖项。
对于 maven 用户,在 pom.xml 文件中添加以下依赖项。
   org.springframework.boot
   spring-boot-starter-thymeleaf


   org.springframework.boot
   spring-boot-starter-web
对于 gradle 用户,将以下依赖项添加到我们的 build.gradle 文件中
compile group: ‘org.springframework.boot’, name: ‘spring-boot-starter-thymeleaf’
compile(‘org.springframework.boot:spring-boot-starter-web’)
@controller 类文件的代码如下
@controller
public class viewcontroller {
}
我们可以定义请求 uri 方法从而重定向到 html 文件,如下所示
@requestmapping("view-products")
public string viewproducts() {
    return "view-products";
}
@requestmapping("/add-products")
public string addproducts() {
    return "add-products";
}
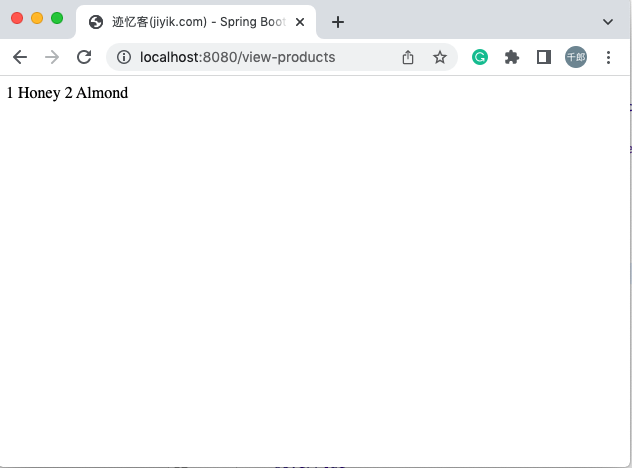
此 api http://localhost:8080/products 应返回以下 json 作为响应,如下所示
[
   {
      "id": "1",
      "name": "honey"
   },
   {
      "id": "2",
      "name": "almond"
   }
]
现在,在 classpath 的模板目录下创建一个 view-products.html 文件。
在 html 文件中,我们添加了 jquery 库并编写了代码从而在页面加载时使用 restful web 服务。
post 方法和此 url http://localhost:8080/products 应包含以下请求正文和响应正文。
请求正文的代码如下
{
   "id":"3",
   "name":"迹忆客"
}
响应正文的内容如下
商品创建成功
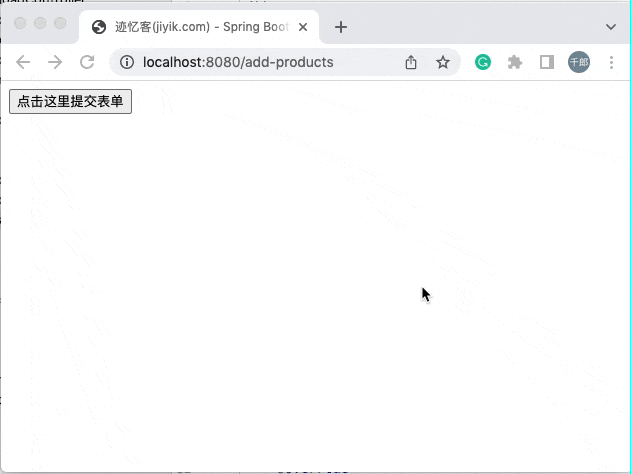
现在,在类路径的模板目录下创建 add-products.html 文件。
在 html 文件中,我们添加了 jquery 库并编写了在单击按钮时将表单提交到 restful web 服务的代码。
完整的代码如下。
maven – pom.xml 文件
    4.0.0
    com.spring
    springbootproject
    1.0-snapshot

        org.springframework.boot
        spring-boot-starter-parent
        2.6.6


            org.springframework.boot
            spring-boot-starter-web


            org.springframework.boot
            spring-boot-starter-test
            test


            org.springframework.boot
            spring-boot-starter-thymeleaf


                org.springframework.boot
                spring-boot-maven-plugin
gradle 的代码 - build.gradle 如下所示
buildscript {
   ext {
      springbootversion = ‘1.5.8.release’
   }
   repositories {
      mavencentral()
   }
   dependencies {
      classpath("org.springframework.boot:spring-boot-gradle-plugin:${springbootversion}")
   }
}
apply plugin: ‘java’
apply plugin: ‘eclipse’
apply plugin: ‘org.springframework.boot’
group = ‘com.study’
version = ‘0.0.1-snapshot’
sourcecompatibility = 1.8
repositories {
   mavencentral()
}
dependencies {
   compile(‘org.springframework.boot:spring-boot-starter-web’)
   compile group: ‘org.springframework.boot’, name: ‘spring-boot-starter-thymeleaf’
   testcompile(‘org.springframework.boot:spring-boot-starter-test’)
}
下面给出的控制器类文件——viewcontroller.java 如下所示
package com.study.controller;
import org.springframework.stereotype.controller;
import org.springframework.web.bind.annotation.requestmapping;
/**
 * @author jiyik.com
 */
@controller
public class viewcontroller {
    @requestmapping("view-products")
    public string viewproducts() {
        return "view-products";
    }
    @requestmapping("/add-products")
    public string addproducts() {
        return "add-products";
    }
}
view-products.html迹忆客(jiyik.com) - spring boot application
add-products.html迹忆客(jiyik.com) - spring boot application
主要的 spring boot 应用程序类文件如下所示
package com.study;
import org.springframework.boot.springapplication;
import org.springframework.boot.autoconfigure.springbootapplication;
/**
 * @author jiyik.com
 */
@springbootapplication
public class myapplication {
    public static void main(string[] args) {
        springapplication.run(myapplication.class, args);
    }
}
现在,我们可以创建一个可执行的 jar 文件,并使用以下 maven 或 gradle 命令运行 spring boot 应用程序。
对于 maven,使用下面给出的命令
$ mvn clean install
成功之后,我们可以在 target 目录下找到 jar 文件。
对于 gradle,使用下面给出的命令
$ gradle clean build
这里我们使用 idea 来启动服务(读者也可以使用上面两种方式中的一种生成可执行 jar 包)
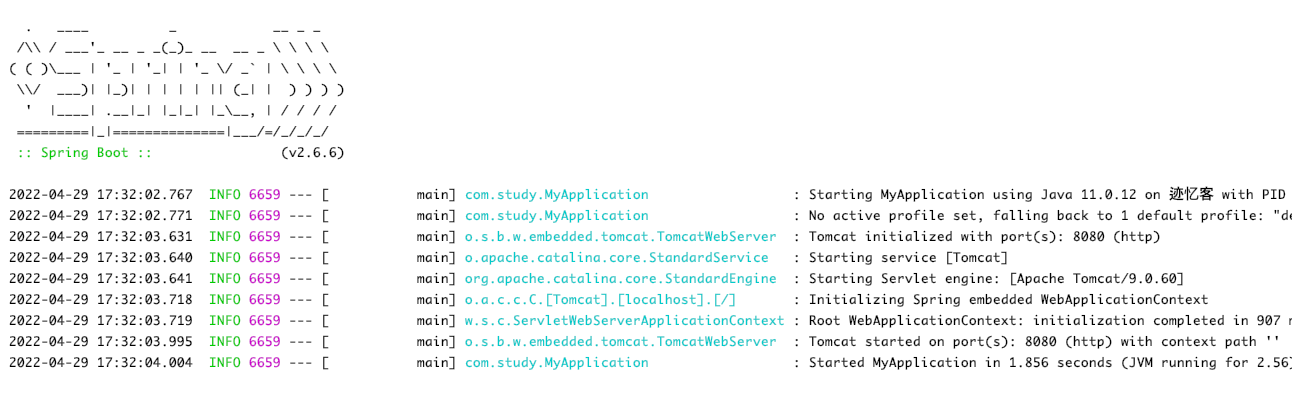
接下来在浏览器中访问 url,我们可以看到如图所示的输出
http://localhost:8080/view-products
http://localhost:8080/add-products
要使用 angular js 请求 api,我们可以使用下面给出的示例 -
使用以下代码创建 angular js 控制器来访问 get api - http://localhost:8080/products
angular.module('demo', [])
.controller('hello', function($scope, $http) {
   $http.get('http://localhost:9090/products').
   then(function(response) {
      $scope.products = response.data;
   });
});
使用以下代码创建 angular js 控制器来访问 post api - http://localhost:9090/products
angular.module('demo', [])
.controller('hello', function($scope, $http) {
   $http.post('http://localhost:9090/products',data).
   then(function(response) {
      console.log("product created successfully");
   });
});
注意- post 方法数据表示 json 格式的请求正文来创建商品。
