扫码一下
查看教程更方便
本章节我们介绍 webpack 打包 html 的知识点。
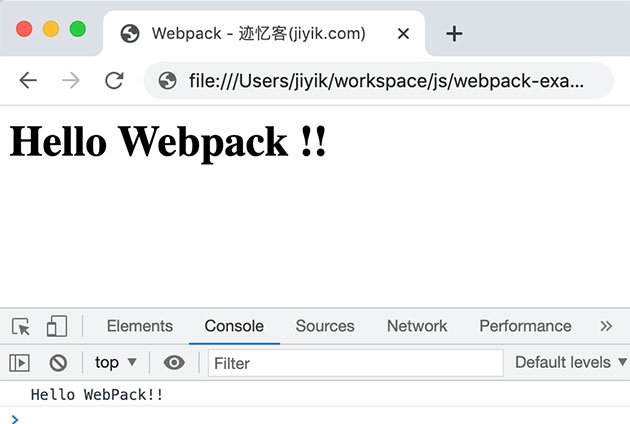
在上一章 webpack 第一个简单应用 中,我们简单介绍了webpack打包 javascript文件。但是在文章末尾我们提出了一个问题:
在某些情况下,手动编写我们的 index.html 文件可能会出现问题。 例如,如果我们更改入口点的名称,生成的包将被重命名,但我们的 index.html 文件仍将引用旧名称。 因此,每次重命名入口点或添加新入口点时,我们都需要手动更新 html 文件。
幸运的是,我们可以使用 html-webpack-plugin 轻松的修复这个问题。 现在让我们安装该插件:
$ npm install html-webpack-plugin --save-dev
此时,要激活插件,我们需要在根目录下创建一个 webpack.config.js 文件,内容如下:
webpack.config.jsconst htmlwebpackplugin = require("html-webpack-plugin"); const path = require('path'); module.exports = { plugins: [ new htmlwebpackplugin({ title: "webpack - 迹忆客(jiyik.com)", }), ], };
如你所见,要激活 webpack 插件,我们需要在webpack.config.js文件中进行定义,然后将其添加到 plugins 数组中。 如果需要,我们还将选项传递给插件。
现在让我们运行 webpack 看看会发生什么:
$ npm run dev
> webpack-example@1.0.0 dev /users/jiyik/workspace/js/webpack-example
> webpack --mode development
asset main.js 1.22 kib [compared for emit] (name: main)
asset index.html 250 bytes [emitted]
./src/index.js 31 bytes [built] [code generated]
webpack 5.54.0 compiled successfully in 146 ms
让我们打开 index.html。 正如我们所见,插件会自动为我们创建一个新的 index.html 文件,它使用配置中的 title 选项:
index.htmlwebpack - 迹忆客(jiyik.com)
我们再次在浏览器中打开该 index.html 文件,运行结果如下
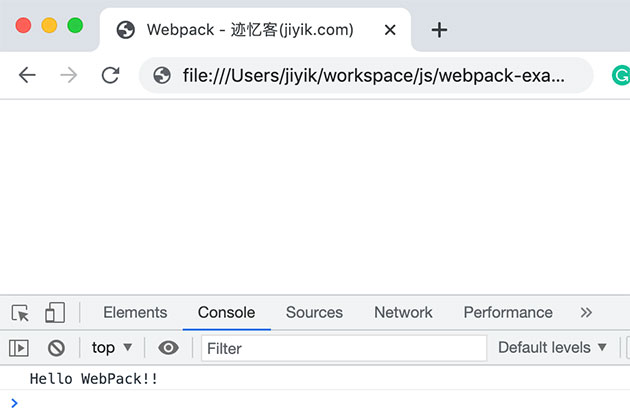
通过上面我们可以看到,同样会在console 控制台中显示 hello webpack !!,并且 title 也是在配置文件中定义的。
在上面的html示例中,我们看到,使用 html-webpack-plugin 生成的默认 index.html 文件中,只能运行引入的 js 代码。html-webpack-plugin 插件也允许我们使用 html模板,这样我们就可以在html文件中定义自己喜欢的内容了。
要使用 html 模板其实也很简单,只需要在 webpack.config.js 配置文件的 htmlwebpackplugin 参数重添加 template 配置项
webpack.config.js
const htmlwebpackplugin = require("html-webpack-plugin");
const path = require('path');
module.exports = {
  plugins: [
    new htmlwebpackplugin({
    hash: true,
    title: 'webpack example app',
    header: 'webpack example title',
    metadesc: 'webpack example description',
    template: './src/index.html',
    filename: 'index.html',
    inject: 'body'
  })
  ],
};
template: './src/index.html' - 定义要使用的模板。filename: 'index.html' - 定义的是由模板生成的静态html文件的位置及其文件名,默认的位置为 dist 文件夹。hash: true - 表示不进行缓存。 injext: 'body' 用来确保 script 出现在 html 中 元素的底部。更多的选项查看
src/index.html 模板<%= htmlwebpackplugin.options.title %>
注意- 这里的index.html不同于 dist文件夹中的 index.html,前者是模板,后者是生成的用来运行的html文件。 当然我们的模板文件也不一定非得命名为 index.html,根据实际情况进行命名。
通过上面的模板的内容,我们还可以看到,要想在模板中引用在配置文件中定义的内容(可以认为是在配置文件中定义变量,在模板文件中引用这些变量的值)可以通过 htmlwebpackplugin.options 对象进行引用,如: htmlwebpackplugin.options.title
下面让我们运行webpack,看发生了什么
$ npm run dev
> webpack-example@1.0.0 dev /users/jiyik/workspace/js/webpack-example
> webpack --mode development
asset main.js 1.22 kib [compared for emit] (name: main)
asset index.html 539 bytes [emitted]
./src/index.js 31 bytes [built] [code generated]
webpack 5.54.0 compiled successfully in 172 ms
运行之后,生成的html静态文件内容如下
dist/index.html 静态文件webpack - 迹忆客(jiyik.com)
在浏览器中运行 index.html 文件,结果如下